User Panel Functionality Overview
The User Panel is designed to provide a seamless experience for users after they log in. It includes essential features for managing profiles, subscriptions, support tickets, and more. Below is a detailed explanation of the functionality available to users.
Dashboard Navbar
The top navbar includes the following key elements for navigation and quick actions:
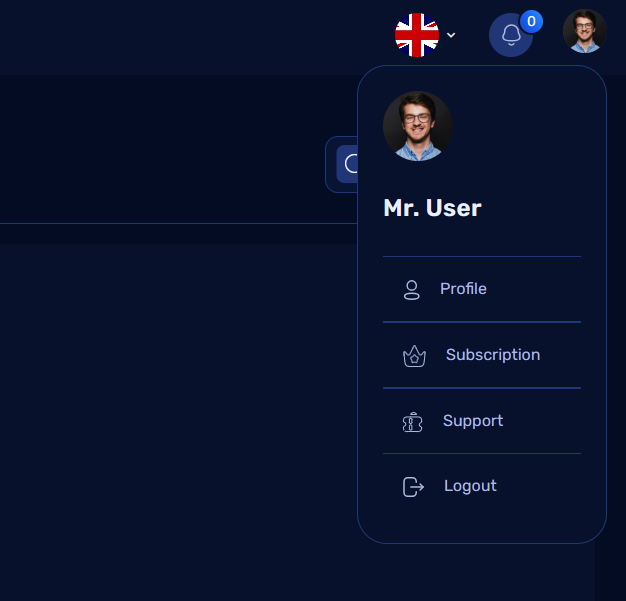
1. Profile Icon
- Contains options specific to the user account:
- Profile: Users can manage their personal information, update passwords, and configure account settings.
- Subscription: View current subscriptions, purchase history, and expired packages.
- Support: Access the support ticket system to create or view tickets.
- Logout: Log out of the user account securely.
2. Notification Icon
- Displays notifications related to subscription updates, support ticket replies, or system alerts.
3. Language Switcher
- Allows users to change the language of the interface dynamically.
Profile Menu
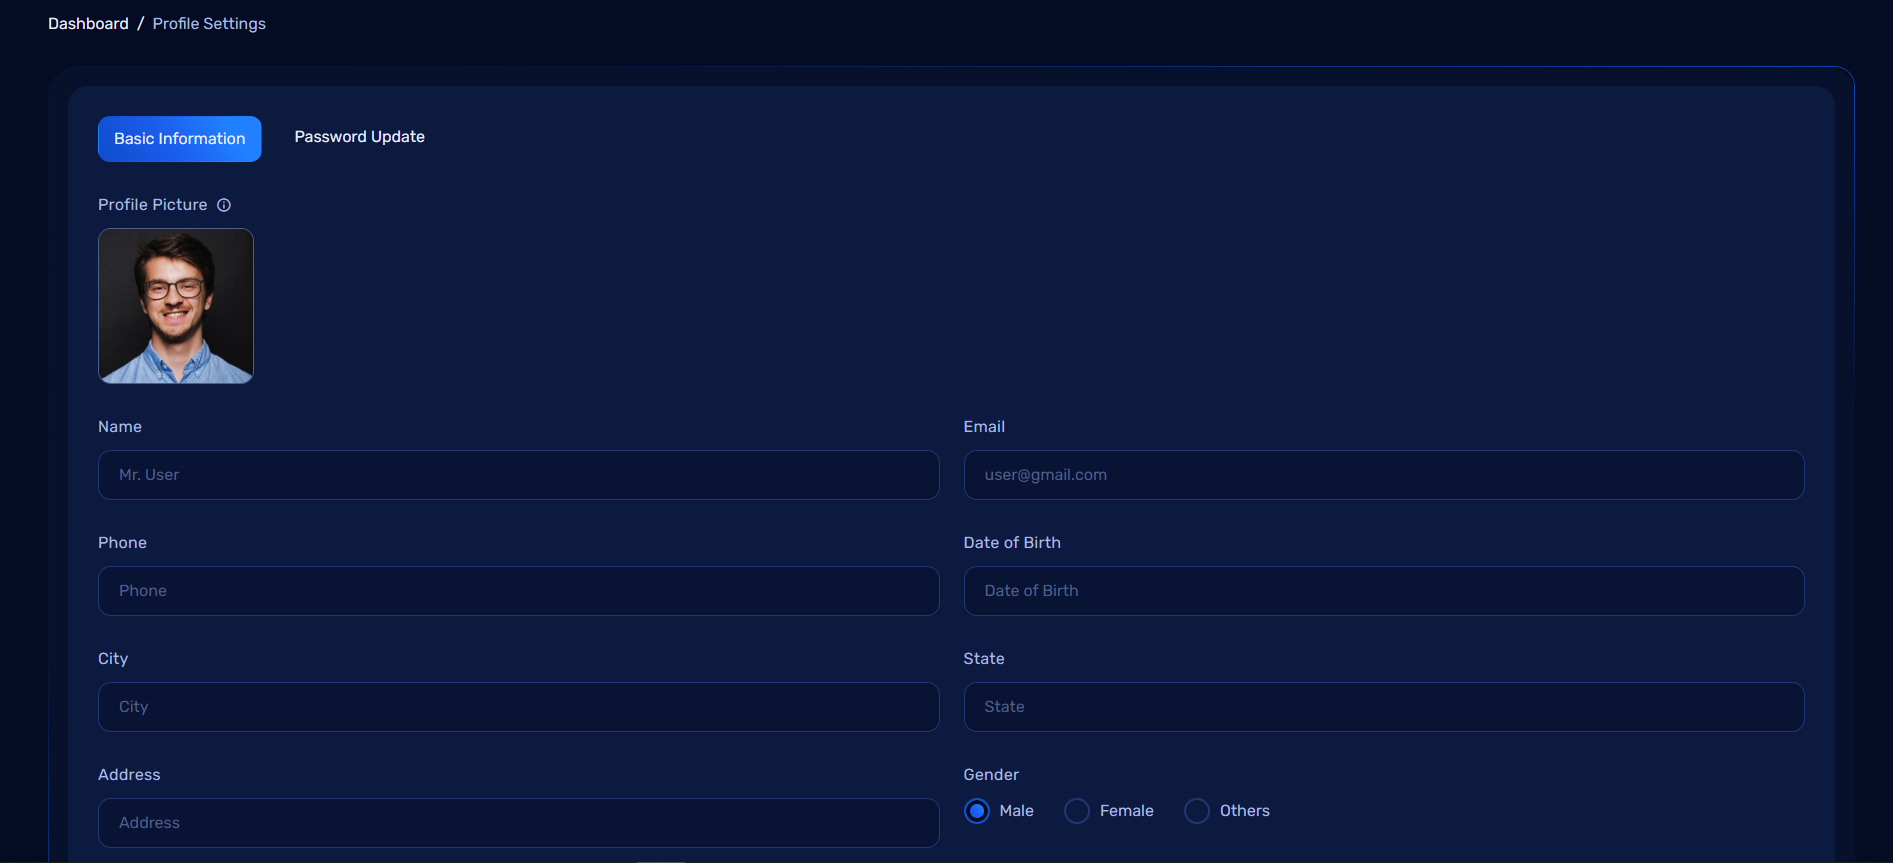
Profile Management
When clicking on the Profile option, users can: 1. View and Update Personal Information: - Name, email, phone, and other personal details. 2. Change Password: - Update their account password securely. 3. Profile Picture: - Upload or change their profile picture for a personalized experience.
Subscription Menu
1. Your Current Subscription
- Displays active subscriptions along with relevant details:
- Package Name
- Start and Expiry Dates
- Payment Status
- Features included in the subscription
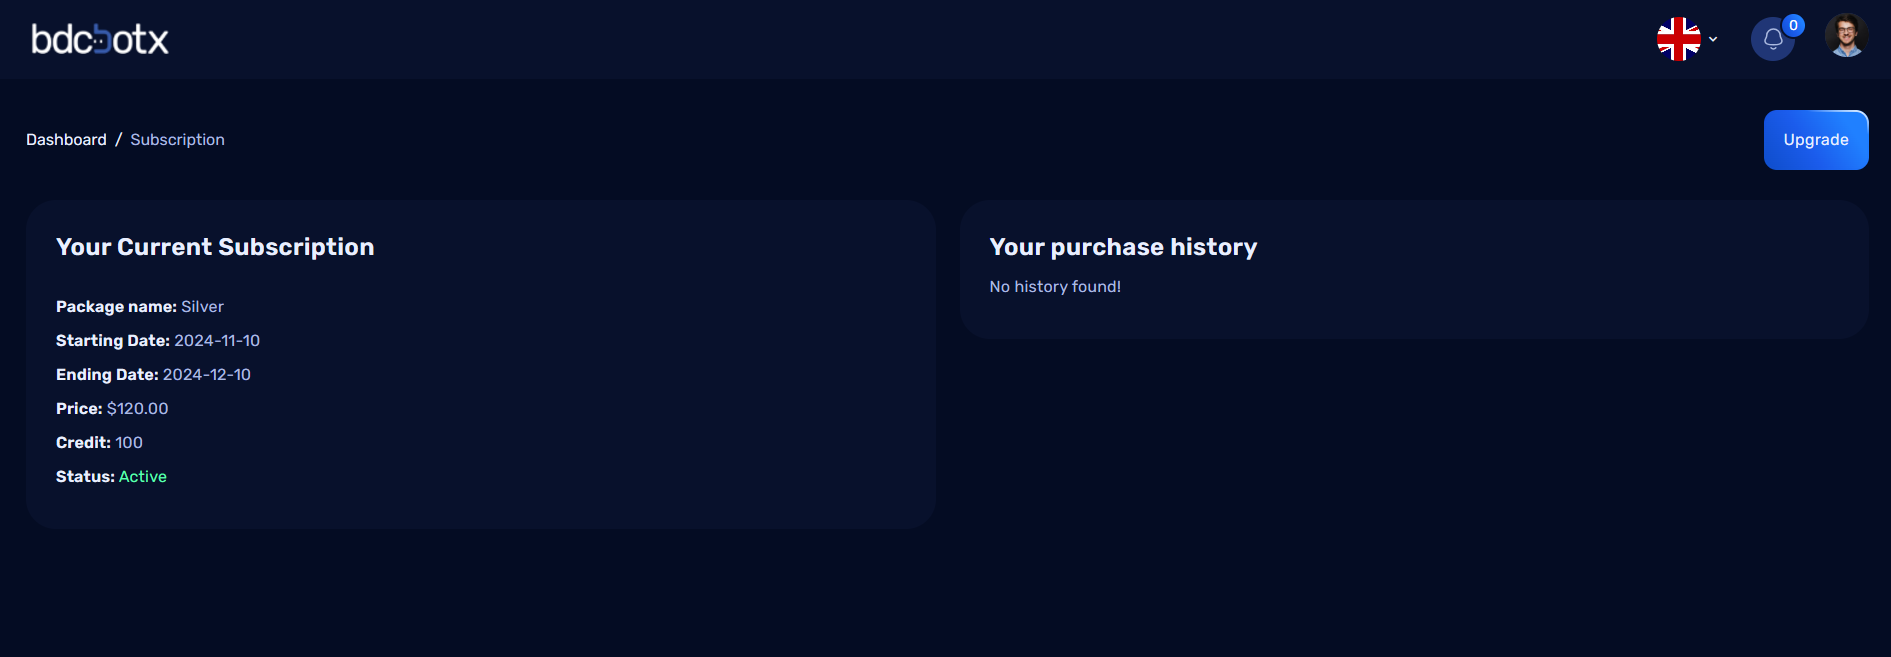
2. Your Purchase History
- Lists previously purchased subscriptions, including expired ones.
- Provides an overview of past transactions.
Support Menu
The Support section allows users to interact with the support team and resolve issues effectively:
1. Create Support Ticket
- Users can create a new ticket by specifying the issue and providing relevant details.

2. Ticket Management
- Users can view tickets they have submitted, along with their current status (e.g., Pending, Resolved, In Progress).
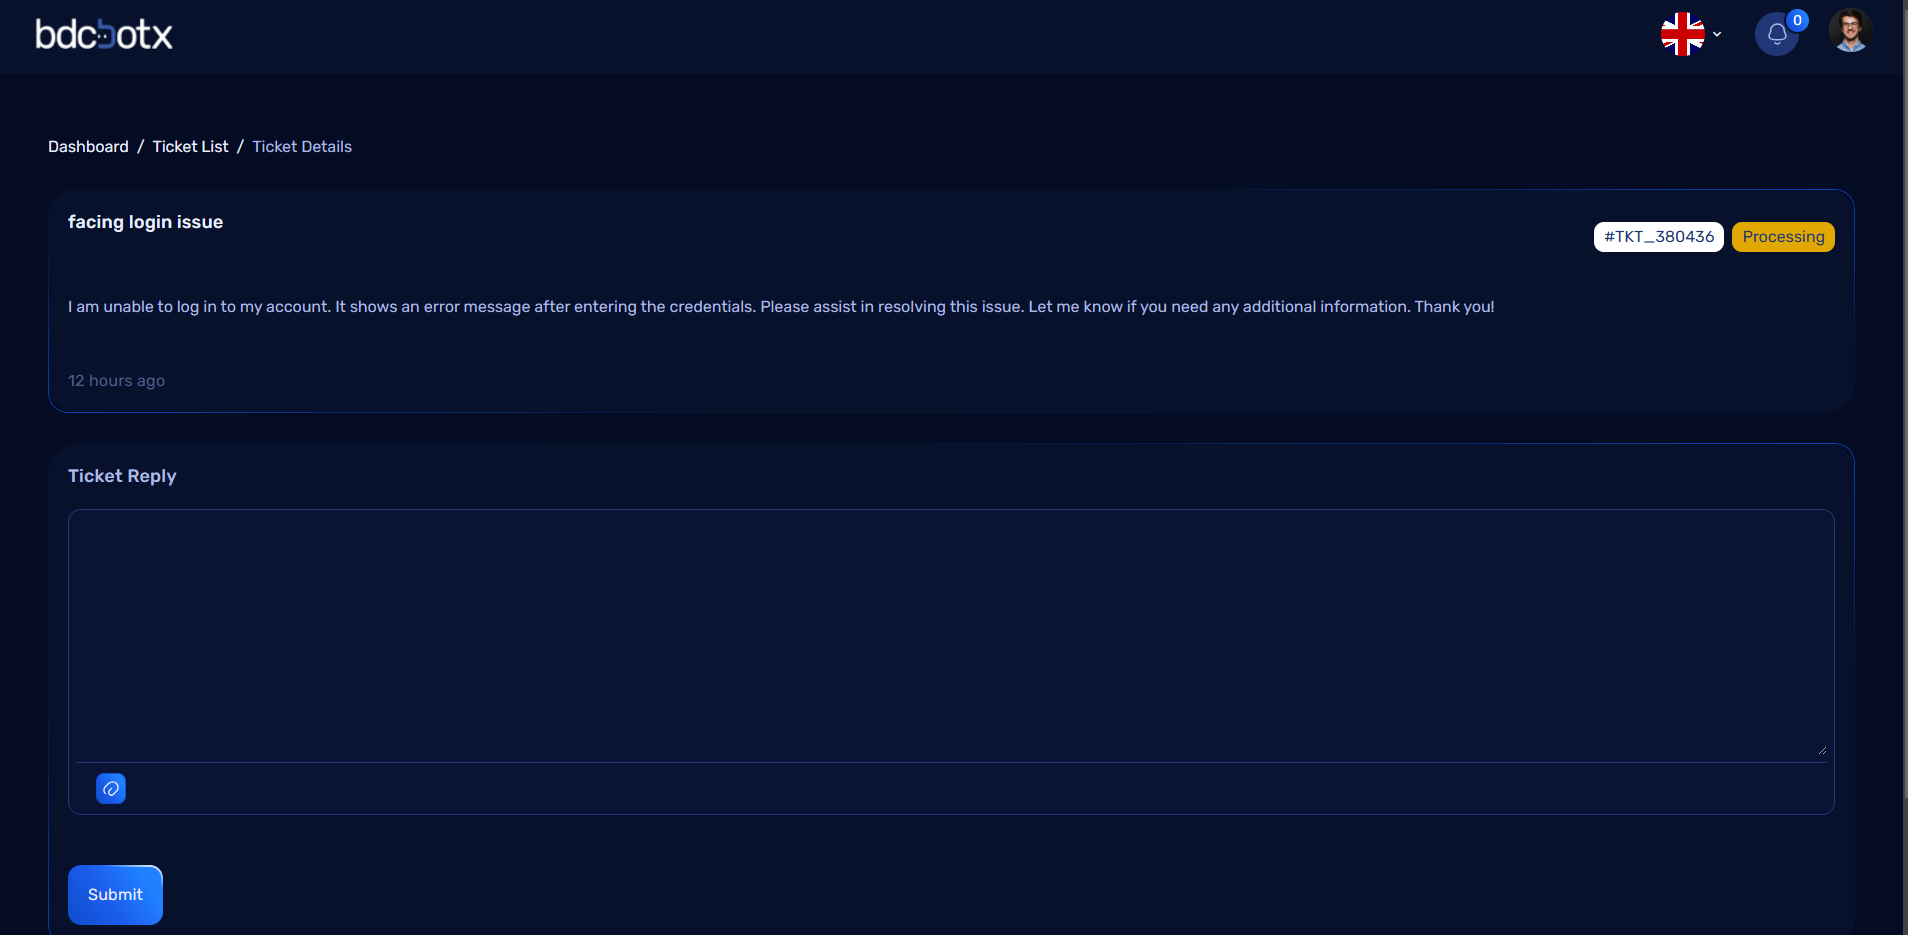
3. Admin Interaction
- Users can:
- Chat directly with admin regarding the ticket.
- Share files and attachments related to the issue.
- Receive real-time updates on ticket status.
Logout
- The Logout button securely logs the user out of their account and redirects them to the login page.
Chatbot Creation in User Dashboard
After logging in, users can access the Chatbot Creation feature from their dashboard. This functionality is divided into multiple tabs, each allowing users to configure specific aspects of their chatbot. Below is a detailed breakdown:
Tabs in Chatbot Creation
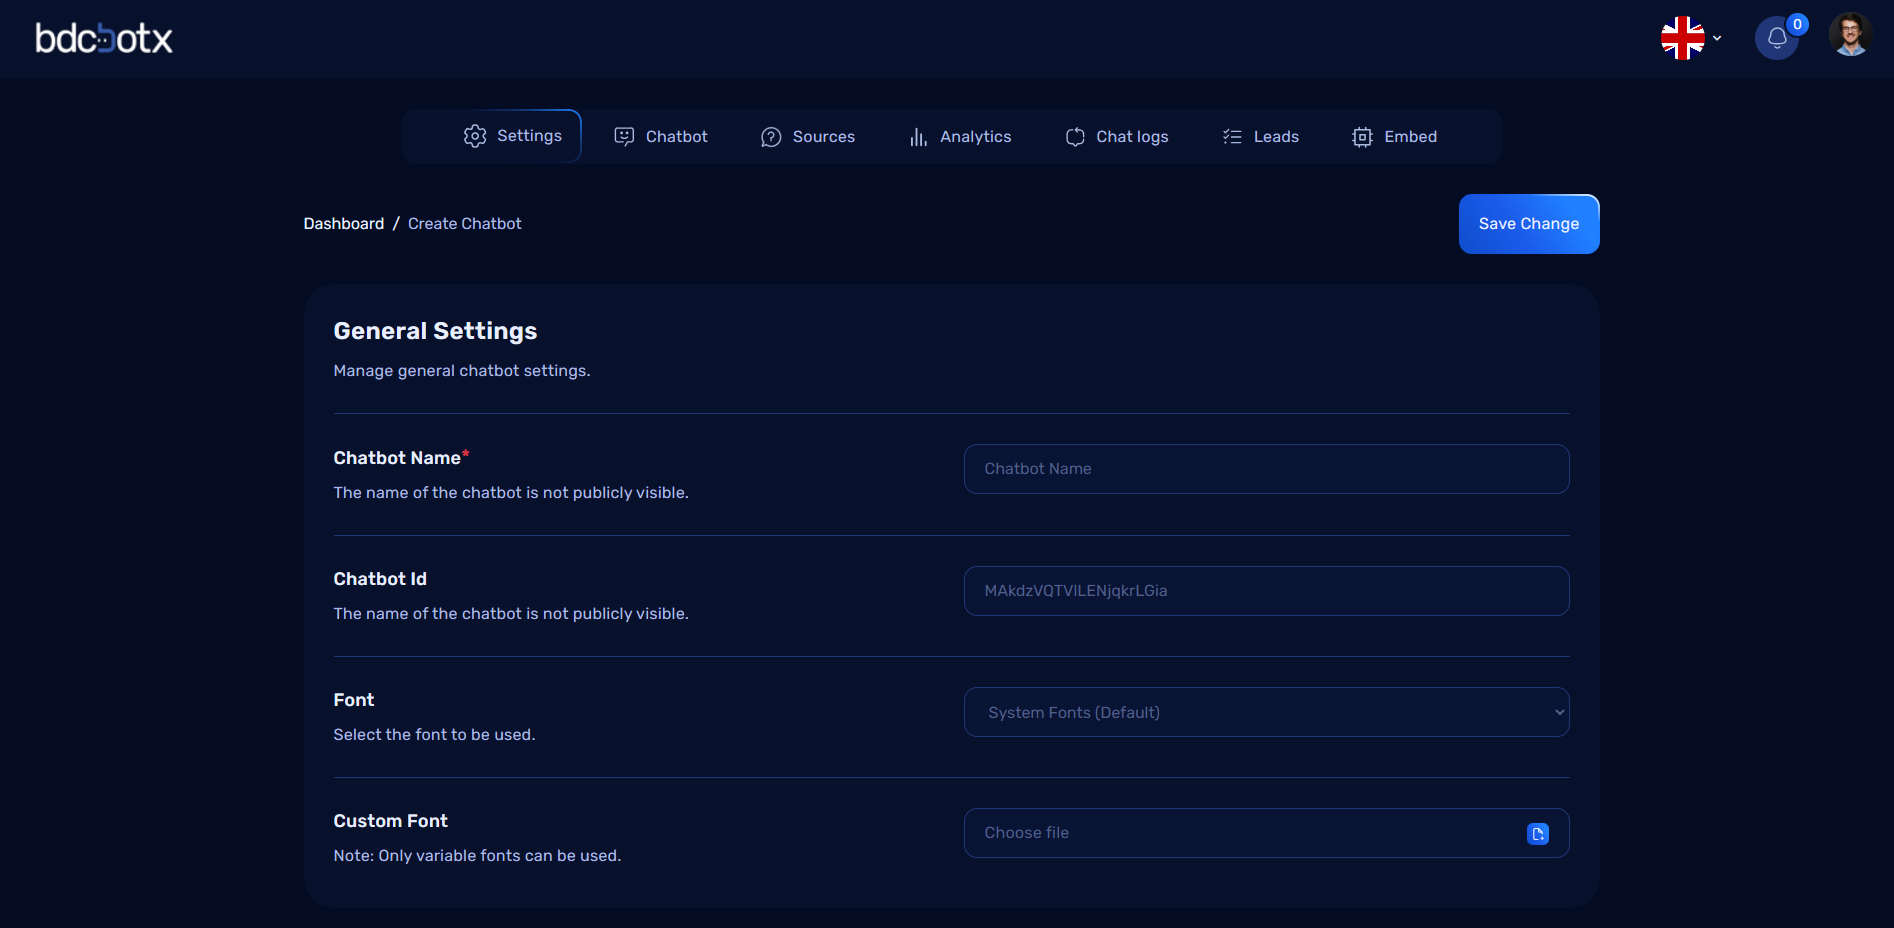
1. Settings Tab
In this tab, users can set up the fundamental details for their chatbot:
-
Chatbot Name:
- Users can give their chatbot a unique name to identify it.
-
Font Selection:
- Choose a default font for the chatbot's interface.
- Alternatively, upload a Custom Font if the default options do not meet the user's requirements.
2. Leads Settings
Users can configure various lead-related settings in this section:
- Input the necessary information for capturing and managing leads effectively.
- Fields include details such as contact preferences, lead behavior, and data collection methods.
3. Chat Escalation
This tab is designed for advanced support management:
- Email Configuration:
- Provide an email address where escalations or unresolved issues will be directed.
4. Branding Tab
The branding tab allows users to manage the chatbot's branding and visual identity:
- Remove Branding Option:
- A checkbox to enable or disable the removal of default branding.
- Users can uncheck it to display the platform's branding or check it to remove it for a more personalized experience.
Save Changes
After configuring the chatbot in all tabs, users can click the Save Changes button at the top of the page to finalize their settings. Once saved: - All configurations will be applied to the chatbot. - Users can proceed to test or deploy their chatbot on their preferred platform.
Chatbot Design Tab in User Dashboard
The Chatbot Tab empowers users to fully customize the appearance and functionality of the chatbot, providing a live preview to visualize changes in real-time. Users can configure both the bubble's design and the chatbot's body and footer settings for a seamless experience.
Customization Options in Chatbot Tab
1. Bubble Settings
- Bubble Icon: Users can select or upload a custom icon for the chatbot bubble.
- Icon Color: Change the color of the bubble icon to match the brand.
- Bubble Background: Set the bubble's background color.
- Bubble Position: Place the bubble on the bottom-left or bottom-right of the screen.
- Header Logo: Upload or select a logo to display in the chat header.
- Chatbot Title: Set the chatbot's title, displayed in the header.
- Title Color: Customize the title's color for alignment with the brand theme.
2. Body Settings
- Initial Messages: Configure the default messages displayed when the chatbot is opened.
- Suggested Messages: Add predefined quick-reply options for users to choose from.
- Chatbot Message Color: Set the text color of the chatbot's responses.
- Chatbot Message Background: Customize the background color of the chatbot's messages.
- User Message Color: Set the text color for user messages.
- User Message Background: Customize the background color for user messages.
- Body Background: Define the overall background color or image for the chat body.
3. Footer Settings
- Footer options allow users to configure additional elements or information in the chatbot's footer section:

Live Preview
The live preview dynamically updates as users configure: - Bubble design (icon, color, position, etc.). - Chat body elements (messages, colors, background, etc.). - Footer customizations.
Save Settings
After completing the configuration: - Click the Save Changes button to apply all updates. - All changes will reflect immediately in the live chatbot interface.
Source Tab in User Dashboard
The Source Tab allows users to provide various types of information to train the chatbot for effective AI-powered conversations. It supports multiple data sources like webpages, PDFs, additional content, and Q&A pairs. Once configured, users can train the chatbot to prepare it for conversation.
Features in Source Tab
1. Webpage URL
- Users can input one or more webpage URLs.
- The system will analyze and display the total number of characters present in the provided URLs.
2. Add PDF
- Users can upload PDFs containing valuable information.
- Uploaded PDFs are processed for training data.
3. Add Content
- Users can input additional textual data that might not fit into other categories.
- Ideal for adding custom content for chatbot responses.
4. Add Q&A
- Users can provide structured question-and-answer pairs.
- This helps the chatbot deliver precise responses based on predefined questions.
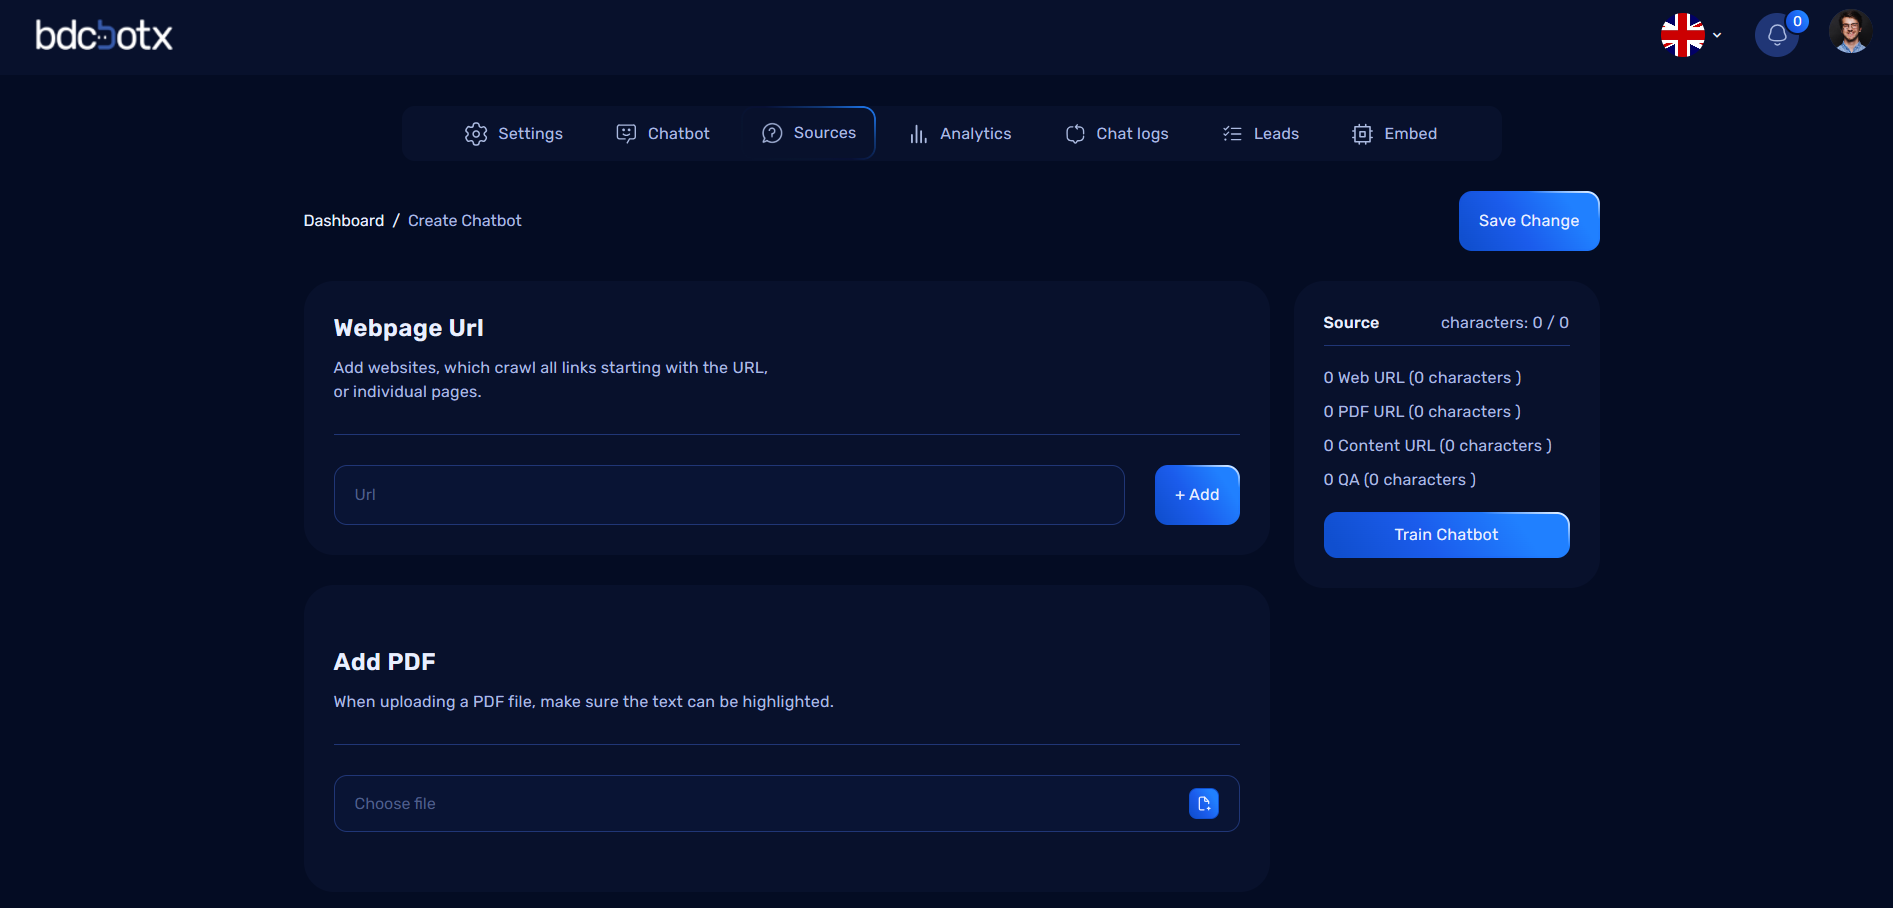
Data Summary
After providing data, the Source Tab displays: - Webpage URL Characters: The total number of characters from all added URLs. - PDF Characters: The total number of characters extracted from uploaded PDFs. - Content Characters: The total number of characters from added content. - Q&A Characters: The total number of characters from provided Q&A pairs.
Training the Chatbot
- After reviewing the provided data, users can click the Train Chatbot button.
- This action processes all input data (URLs, PDFs, content, and Q&A) to make the AI chatbot conversation-ready.
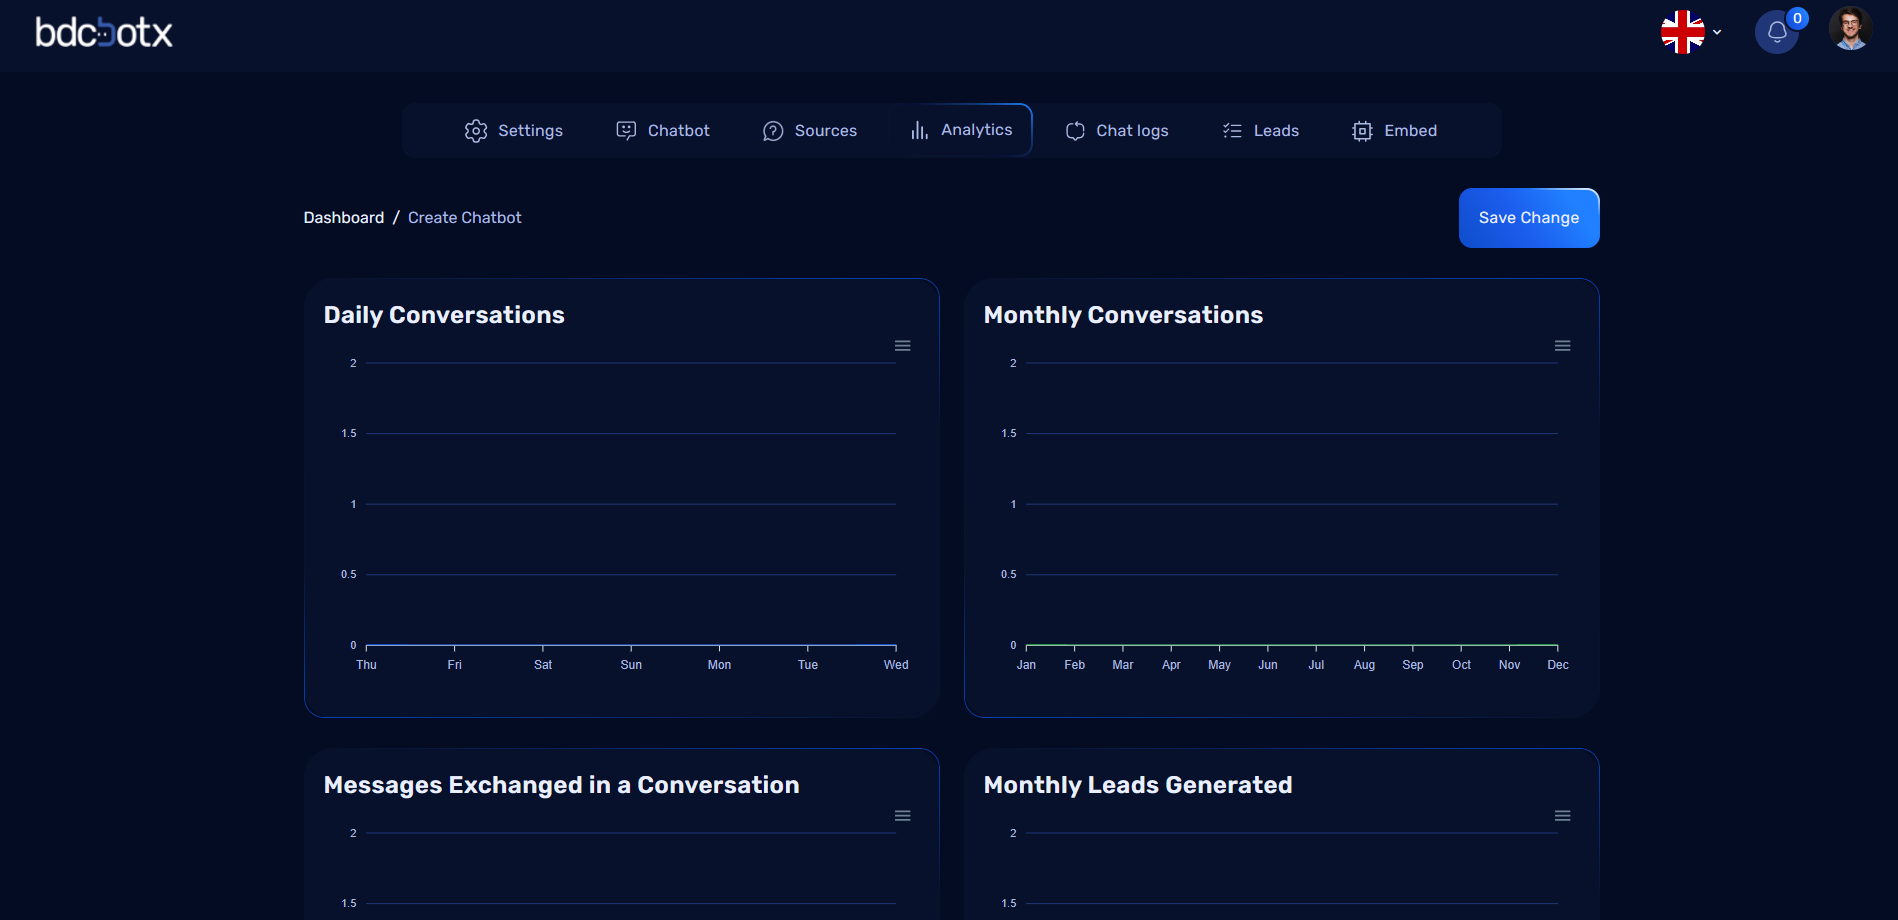
Analytics Tab in User Dashboard
The Analytics Tab provides detailed insights into chatbot performance through various charts and metrics. These analytics help users monitor and optimize their chatbot's effectiveness.
Charts and Insights
1. Daily Conversations
- Displays the number of conversations initiated by users on a daily basis.
- Helps track chatbot usage trends over specific days.
2. Monthly Conversations
- Shows a breakdown of the total conversations handled by the chatbot each month.
- Useful for identifying long-term usage patterns.
3. Messages Exchanged in a Conversation
- Tracks the number of messages exchanged per conversation.
- Provides insight into the depth and engagement level of user interactions.
4. Monthly Leads Generated
- Displays the number of leads captured by the chatbot each month.
- Indicates the chatbot’s effectiveness in generating potential business opportunities.
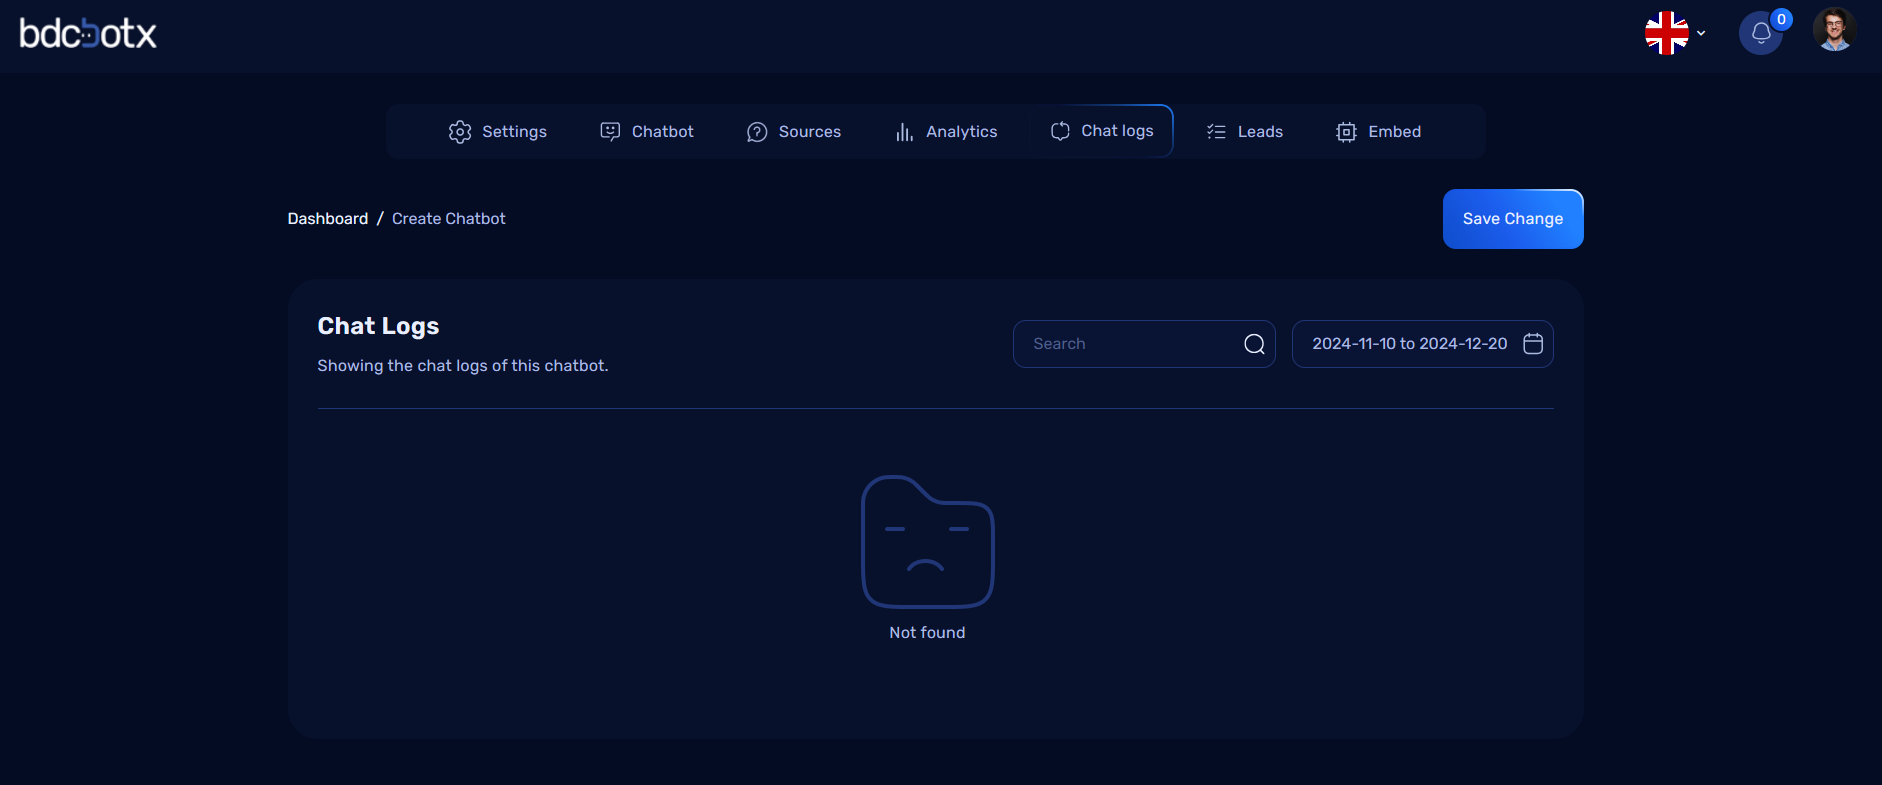
Chat Logs in User Dashboard
The Chat Logs section provides users with a detailed history of all interactions that have occurred through the chatbot. This feature allows users to view and analyze past conversations for insights, user engagement tracking, and improving chatbot performance.
Features of the Chat Logs
1. Comprehensive Conversation History
- Displays a list of all chat sessions initiated through the chatbot.
- Each session includes timestamps, user details (if available), and conversation context.
2. Search and Filter Options
- Users can filter chat logs by:
- Date Range: View chats within a specific time frame.
- Keywords: Search for specific terms or phrases used in conversations.
- User ID/Email: Identify conversations based on user information.
3. Individual Chat Viewing
- Click on a chat log to view the entire conversation thread, including:
- User Messages: Messages sent by the website visitor.
- Chatbot Responses: AI-generated replies during the interaction.
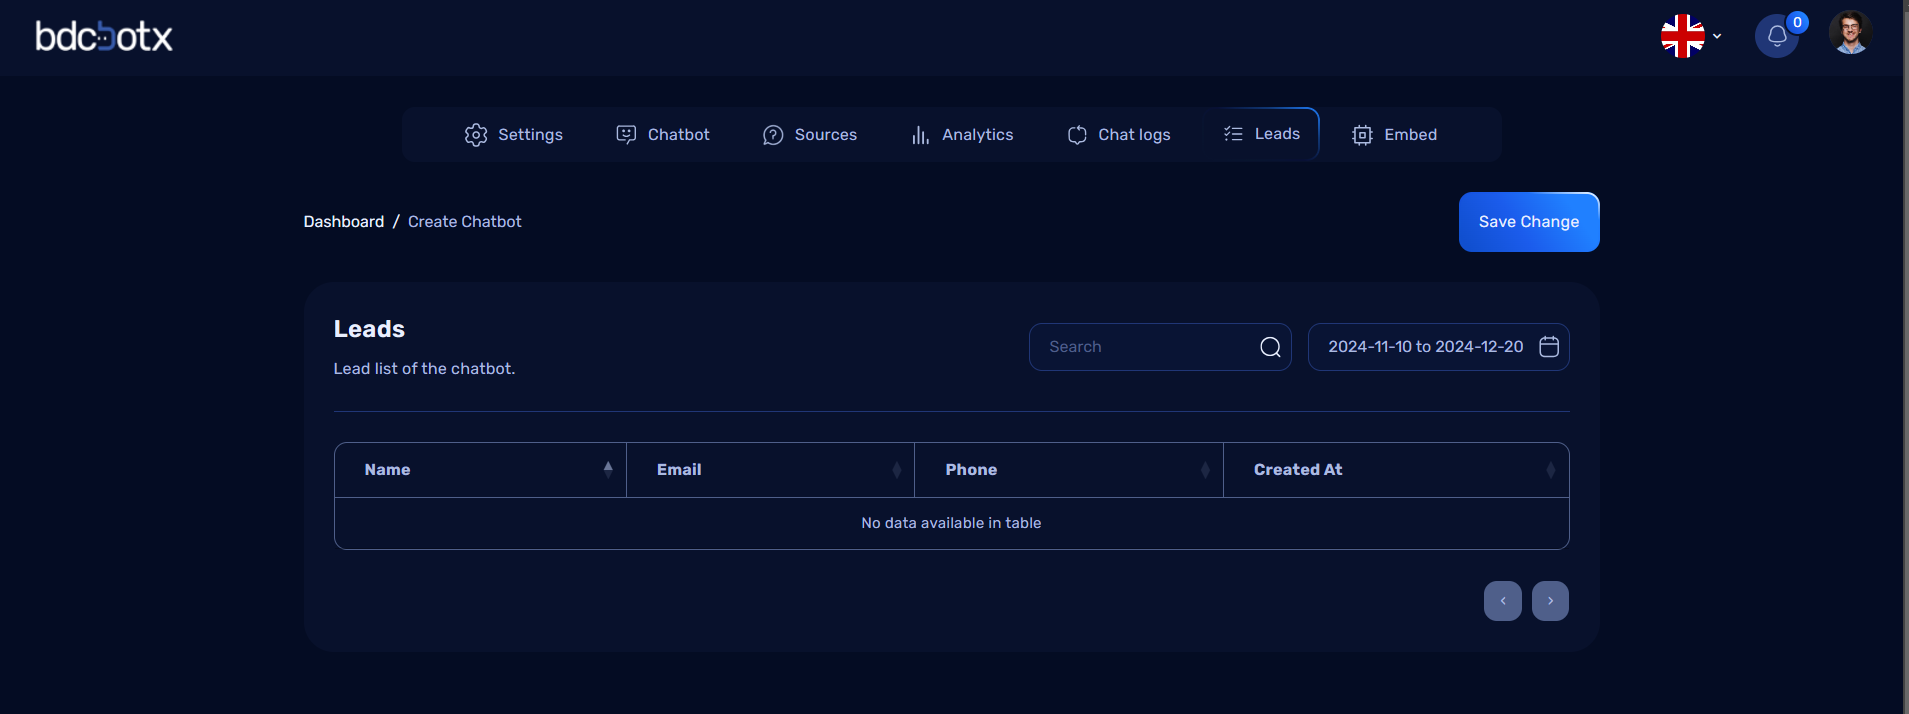
Leads Section
The Leads section provides a comprehensive list of all the leads captured through the chatbot interactions. This feature allows users to efficiently manage and track potential customers who engaged with the chatbot.
Features of the Leads Section
1. Lead List Overview
- Displays all collected leads in a tabular format for easy viewing and management.
- Columns in the Data Table:
- Name: The name of the user who interacted with the chatbot.
- Email: The email address provided by the user.
- Phone: The contact number shared by the user (if available).
- Created At: The timestamp indicating when the lead was generated.
2. Search and Filters
- Quickly locate specific leads using:
- Search Bar: Search by name, email, or phone number.
- Date Filters: View leads generated within a specific time frame.
4. Lead Details
- Click on a specific lead to view detailed information and interaction history (if available).
Benefits of the Leads Section
- Streamlined Lead Management:
- Centralized storage of all lead information collected through the chatbot.
-
Easy access to contact details for follow-up actions.
-
Enhanced Marketing and Sales Efforts:
- Exported lead data can be used in email campaigns, sales outreach, or CRM tools.
-
Identify and prioritize high-value leads.
-
Performance Insights:
- Monitor the effectiveness of chatbot interactions in generating qualified leads.
- Analyze lead generation trends based on date and user activity.
The Leads section is a powerful tool for leveraging chatbot interactions to grow and nurture potential customer relationships efficiently.
Embed Tab in User Dashboard
The Embed Tab provides users with the script code required to integrate their chatbot into any website. By embedding this code, the chatbot bubble will appear on the specified webpage, allowing users to initiate conversations seamlessly.
Features of the Embed Tab
1. Script Code Generation
- A unique script code is generated for each chatbot.
- The script is optimized for quick integration with any HTML-based webpage.
2. Easy Copy Option
- A Copy Script button is available for effortless copying of the embed code.
3. Integration Instructions
- Simple instructions provided for embedding:
- Paste the script code into the
<head>or<body>section of the target webpage. - Save and reload the webpage to see the chatbot bubble.
