Authentication Guide
Introduction
This documentation covers the authentication system for the project. Users can either create an account using their email and password or log in using their social media accounts like Facebook or Google.
Authentication Overview
Our system supports the following authentication methods: - Email/Password Login - Social Login (Google/Facebook)
Account Creation/Sign Up
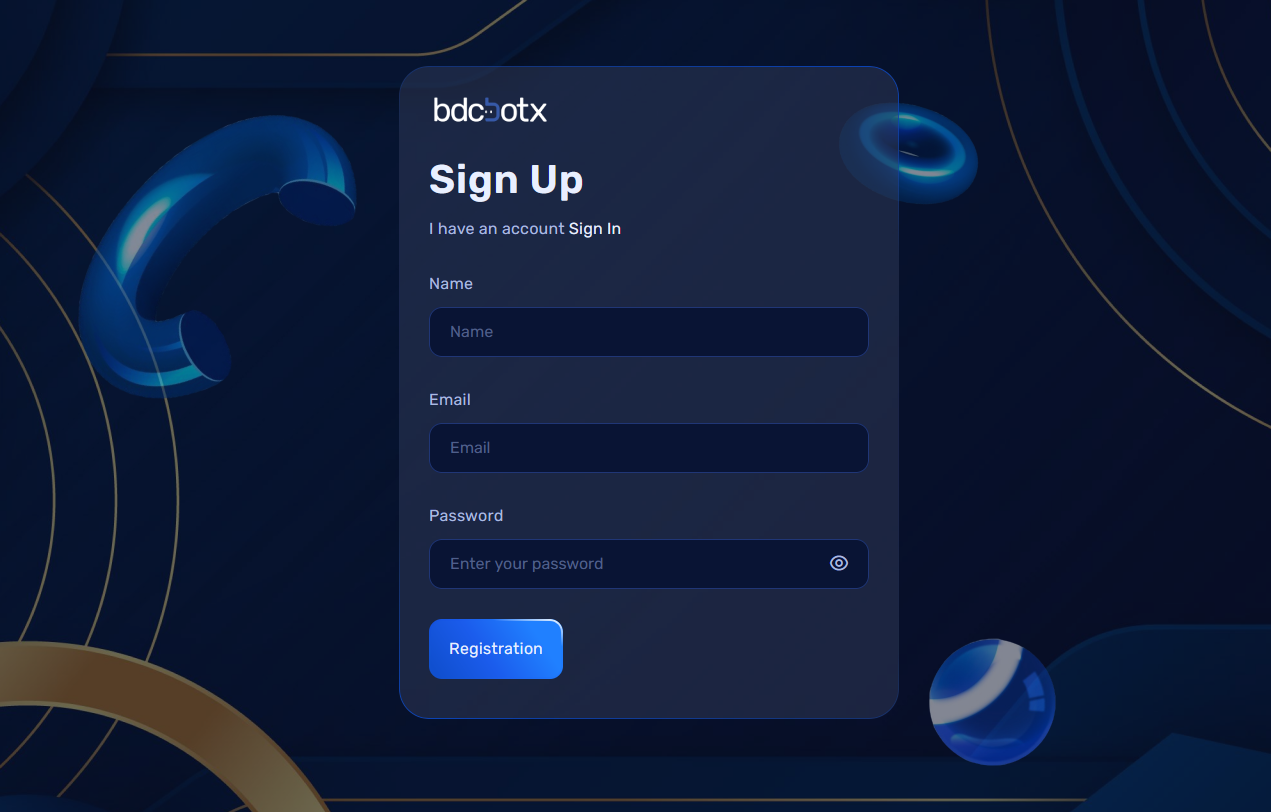
To start using the application, users need to create an account.
Required Information:
- Name
- Email (Valid email address)
- Password (Must be at least 8 characters)
How to Register:
- Navigate to the registration page.
- Enter your name, email, and password.
- Click on the "Register" button.
Password Rules:
- The password must be at least 8 characters long.
- It should include a mix of letters, numbers, and optionally symbols to ensure strong security.
Email/Password Login
Once your account is created, you can log in using your email and password.
How to Log In:
- Navigate to the login page.
- Enter your registered email and password.
- If the credentials are correct, you will be redirected to the dashboard.
Forgot Password
If you've forgotten your password, you can reset it using the following steps:
Steps to Reset Your Password:
- Click on "Forgot Password?"
-
On the login page, you'll find the "Forgot Password?" link below the login form. Click on this link to begin the password recovery process.
-
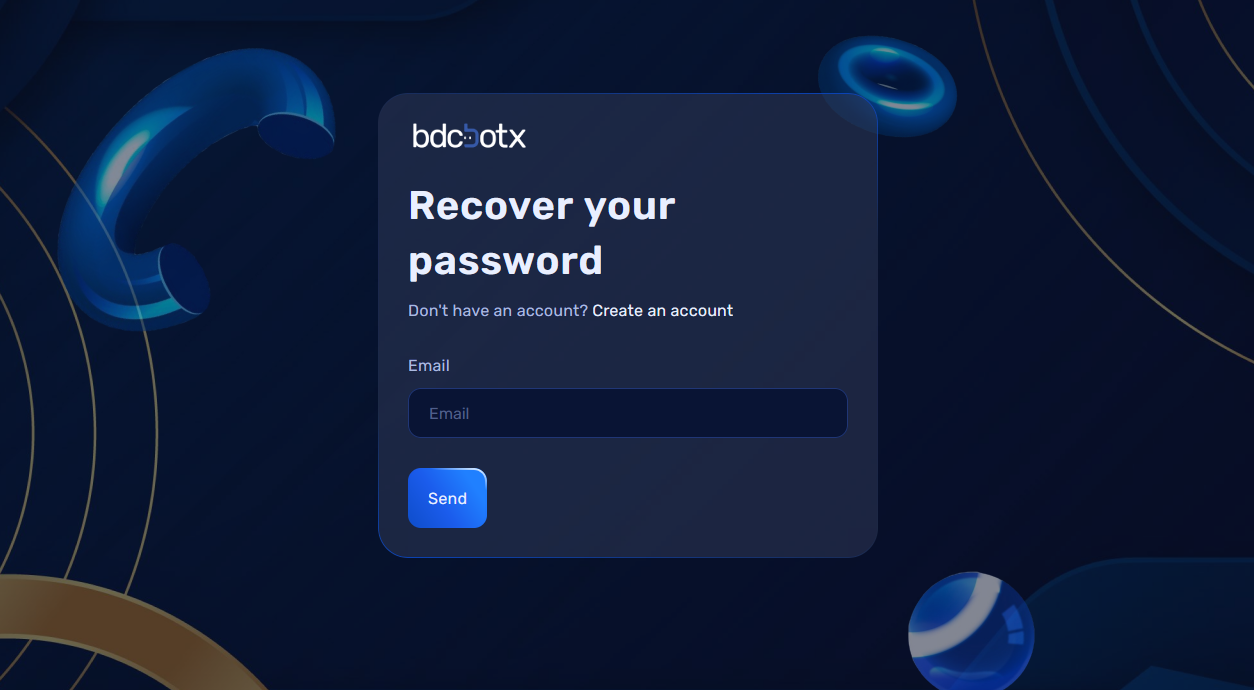
Enter Your Email
-
After clicking "Forgot Password?", you will be prompted to enter the email address associated with your account. Enter your email and click on the Send button.
-
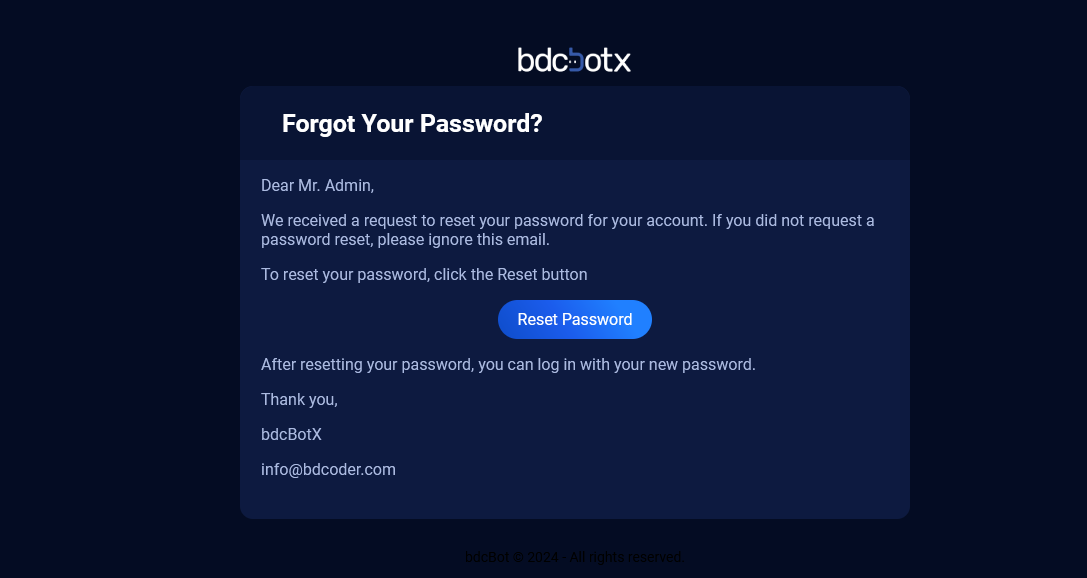
Check Your Email
-
A password reset link will be sent to your inbox. Check your email for a message with a reset link.
-
Click on the Reset Password Button
-
In your email inbox, click on the reset password button or the link provided.
-
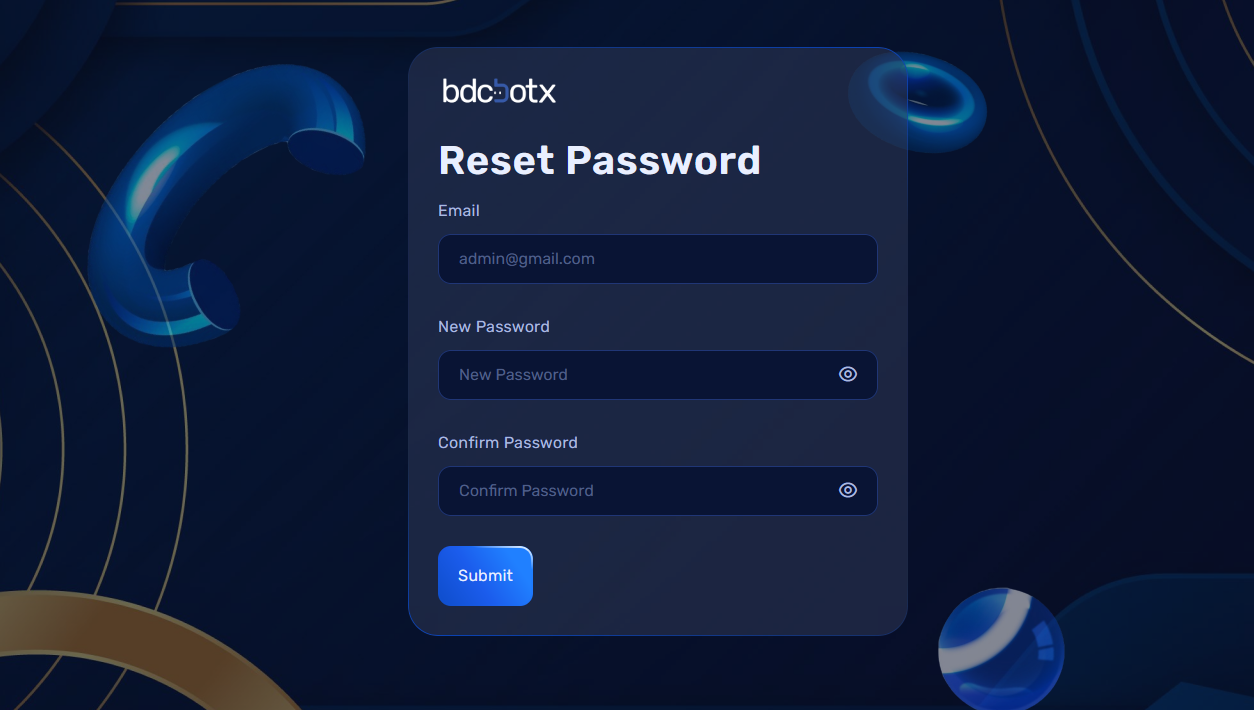
Reset Your Password
- You will be redirected to a new page where you can enter your new password and confirm password.
-
The password must be at least 8 characters long.
-
Submit Your New Password
-
After entering the new password and confirming it, click on the Submit button to complete the process.
-
Password Reset Complete
- Upon successfully resetting your password, you will be automatically redirected to the dashboard, where you can log in with your new password.
Social Login
Users can also log in using their social media accounts like Google or Facebook.
Supported Platforms:
Google Login Setup
- Go to Google Developer Console
-
Visit Google Developer Console and sign in with your Google account.
-
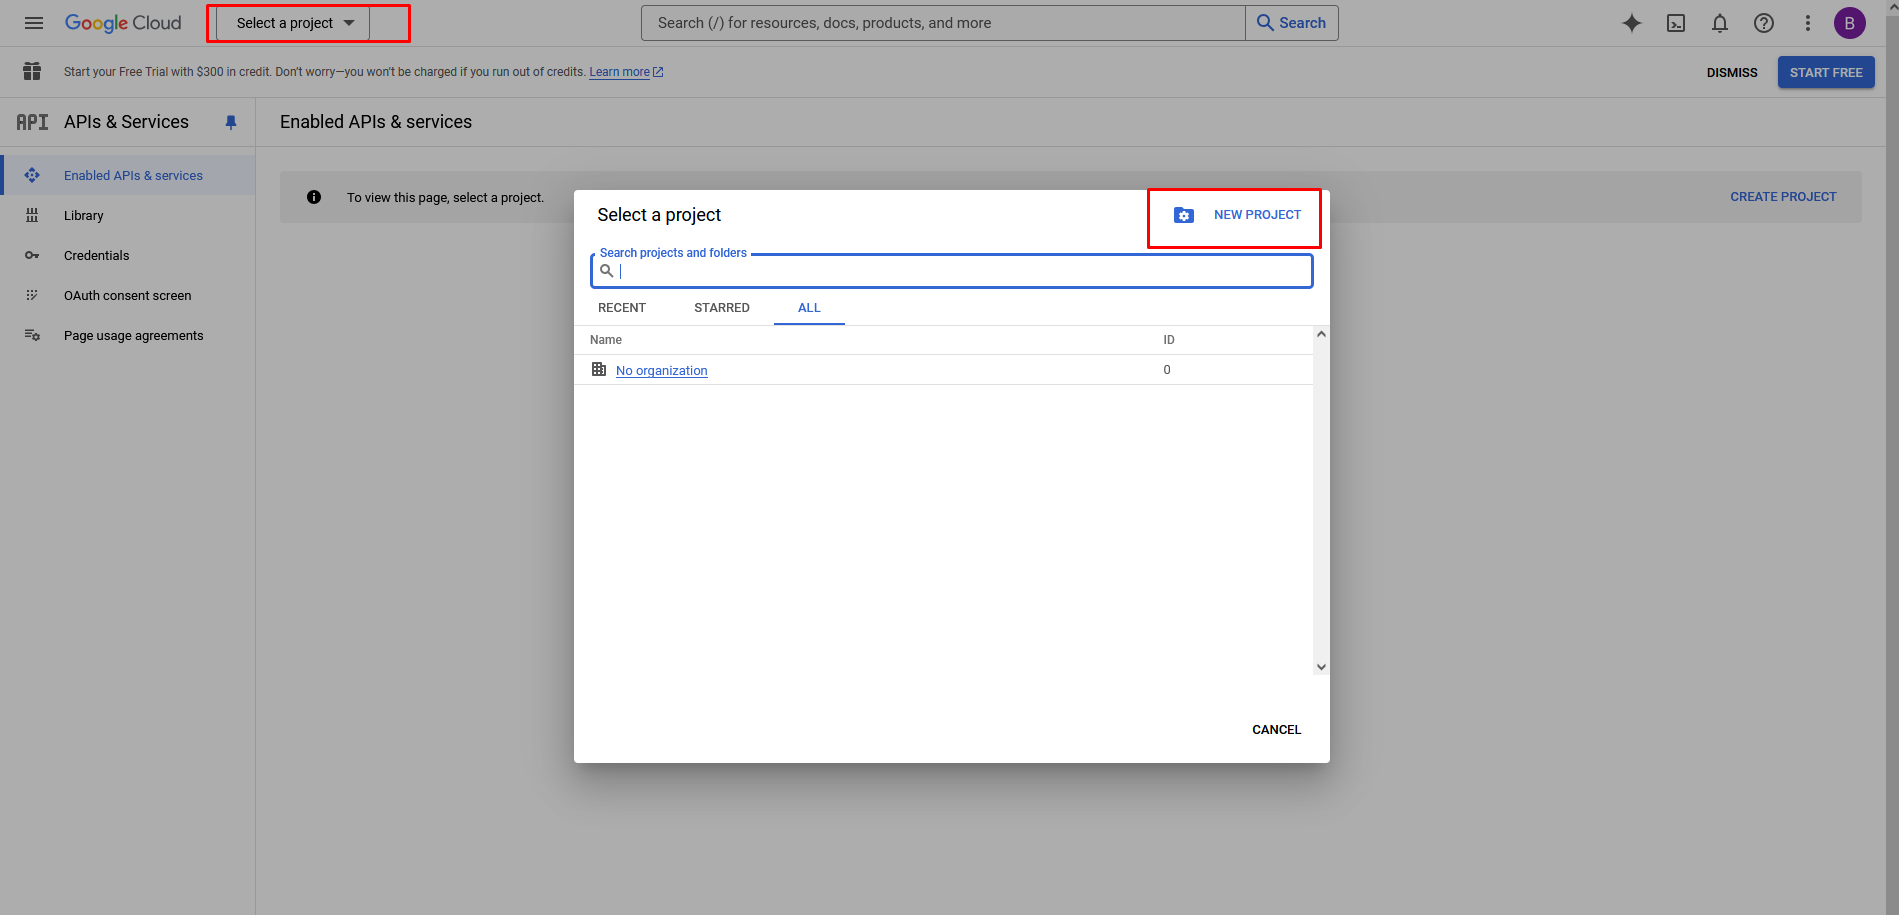
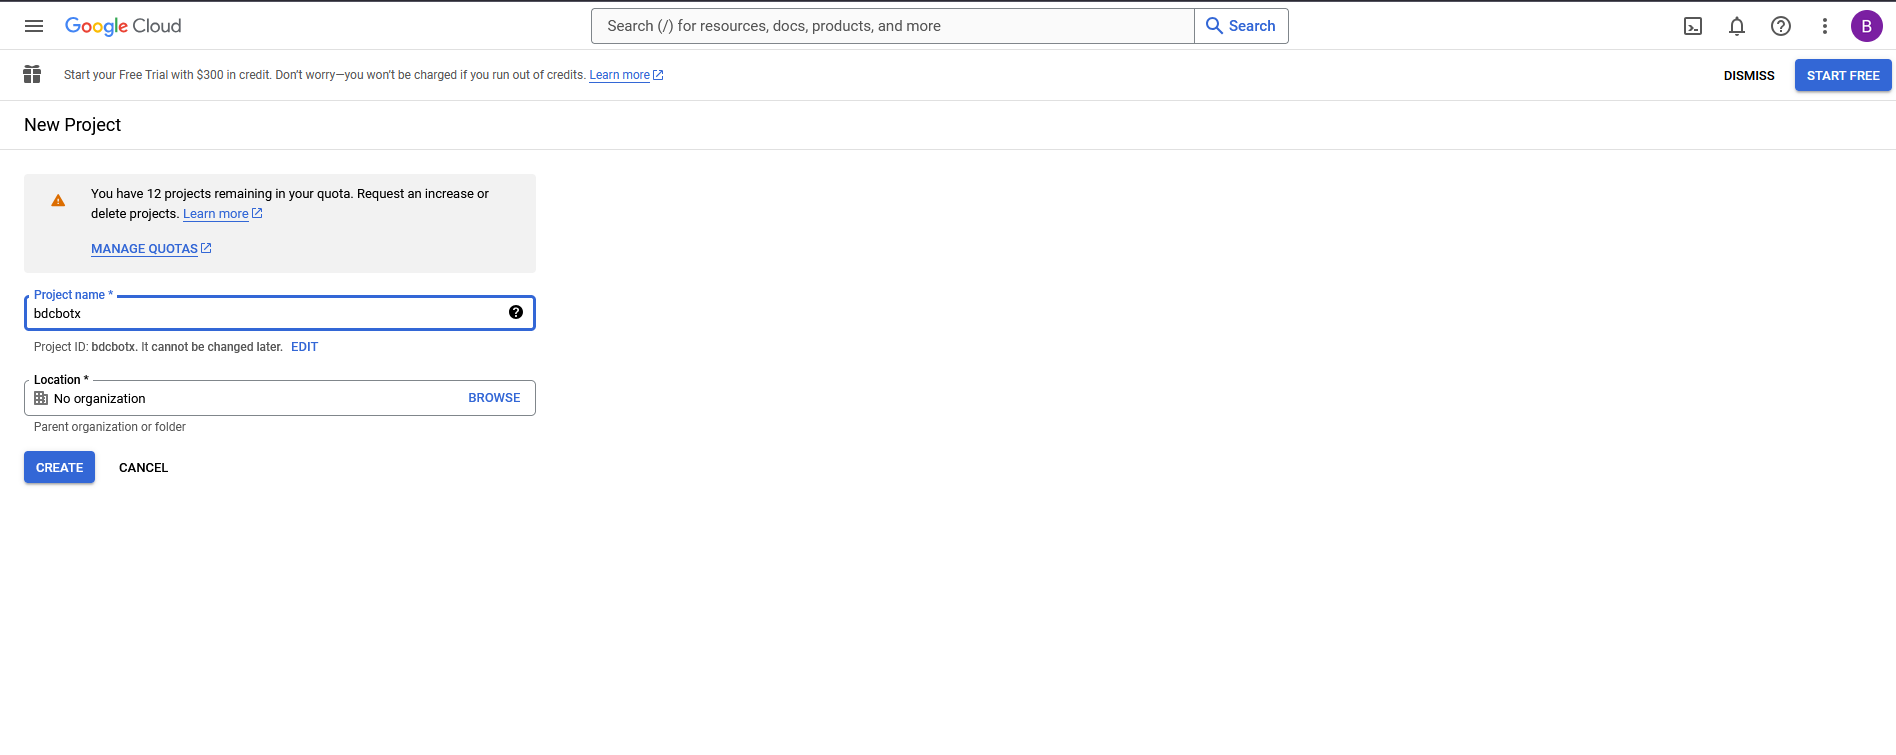
Create a New Project
- Click on the "Select Project" button.
- Provide a Project Name and click Create.
- Enable OAuth 2.0
- Navigate to API & Services > Credentials.
-
Click "Create Credentials" > OAuth 2.0 Client IDs.
-
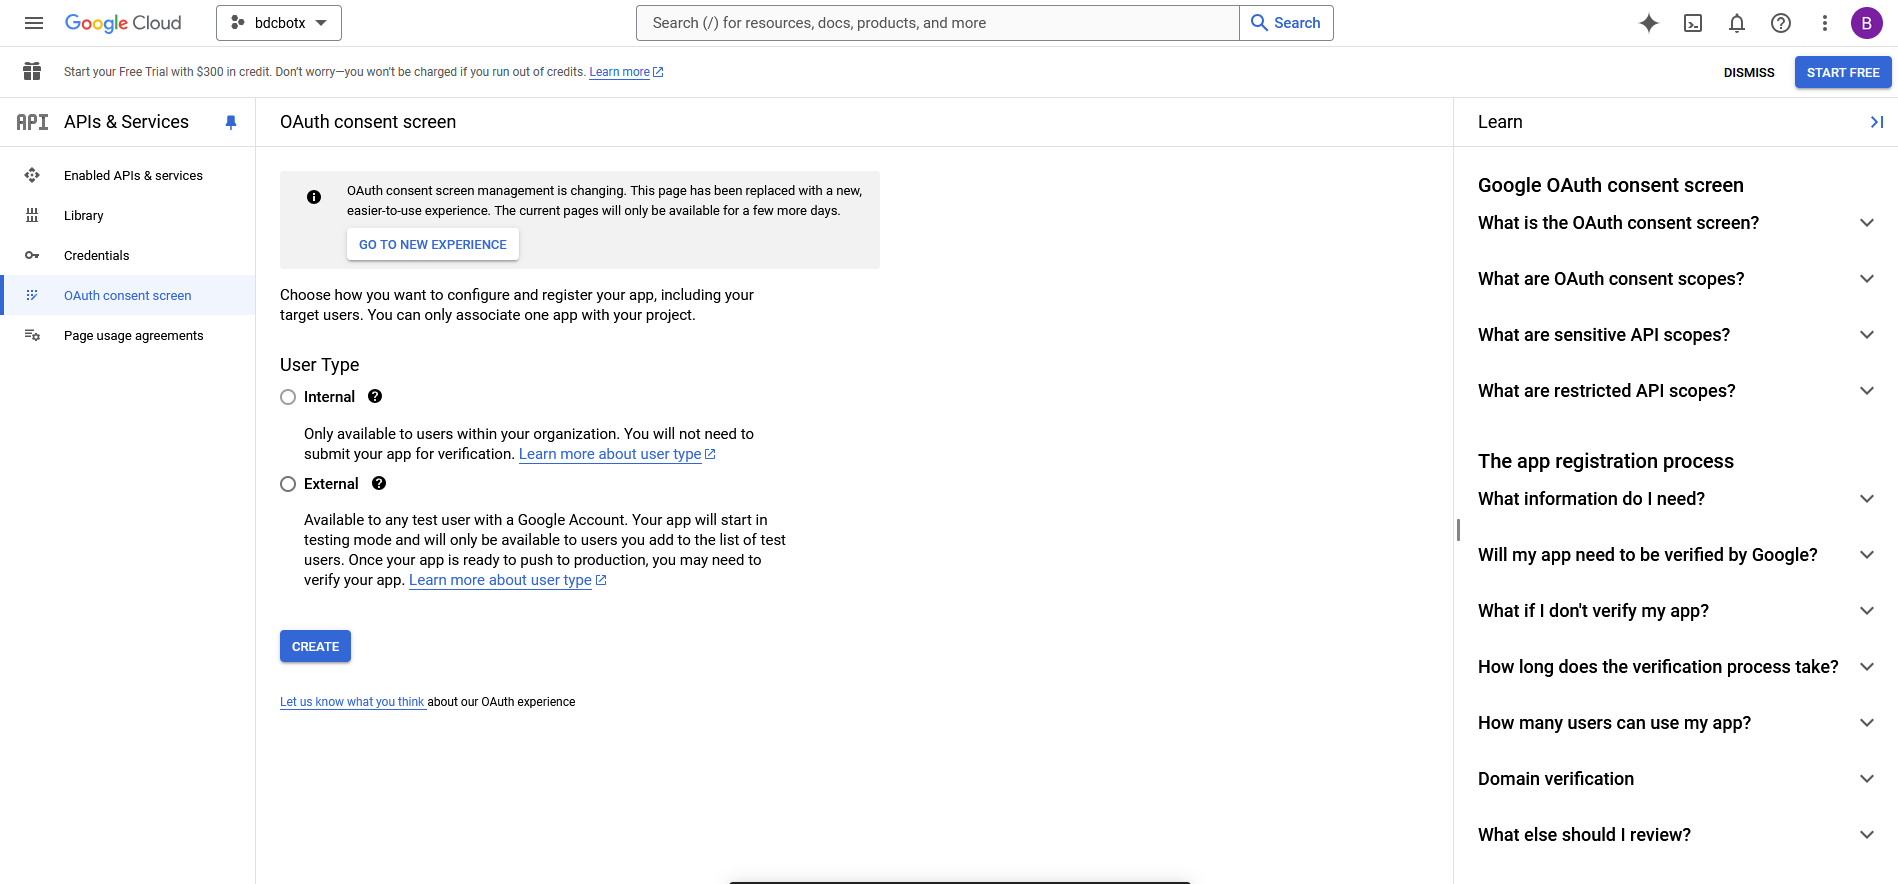
Configure OAuth Consent Screen
- Go to the OAuth Consent Screen tab.
- Fill out the required fields (App Name, Logo, etc.) and save.
- Set Application Type and Redirect URIs
- Choose Web Application as the application type.
-
Add
https://your-domain.com/login/google/callbackas the Authorized Redirect URI. -
Copy Client ID and Secret
- Save the generated Client ID and Client Secret for later use.
Facebook Login Setup
- Go to Facebook Developer Portal
-
Visit Facebook for Developers and sign in.
-
Create a New App
-
Click "Create App", select Consumer, and fill in the required details.
-
Add Facebook Login Product
- In the app dashboard, click Add Product and select Facebook Login.
- Set Redirect URIs
- Go to Settings > Facebook Login and add
https://your-domain.com/login/facebook/callbackas a Valid OAuth Redirect URI. - Copy App ID and Secret
-
Navigate to Settings > Basic to obtain the App ID and App Secret.
-
Make the App Live
- Switch your app from Development to Live mode in the dashboard.
Backend Configuration
Dynamic Client Credentials Management
To allow users to manage their social login configurations dynamically, the Google and Facebook Client IDs and Secrets will be stored and updated from the Admin Panel under Settings > General Settings.
Steps to Configure Dynamic Settings:
- Admin Panel Settings:
- Navigate to the Admin Panel.
-
Go to Settings > General Settings.
-
Update Google Configuration for Social Login:
- Enter the Google Client ID, Google Client Secret, and the Redirect URL in their respective fields.
- Update Facebook Configuration for Social Login:
-
Enter the Facebook App ID, Facebook App Secret, and the Redirect URL in their respective fields.
-
Save the Changes:
- Once all fields are filled, click Save to update the credentials.